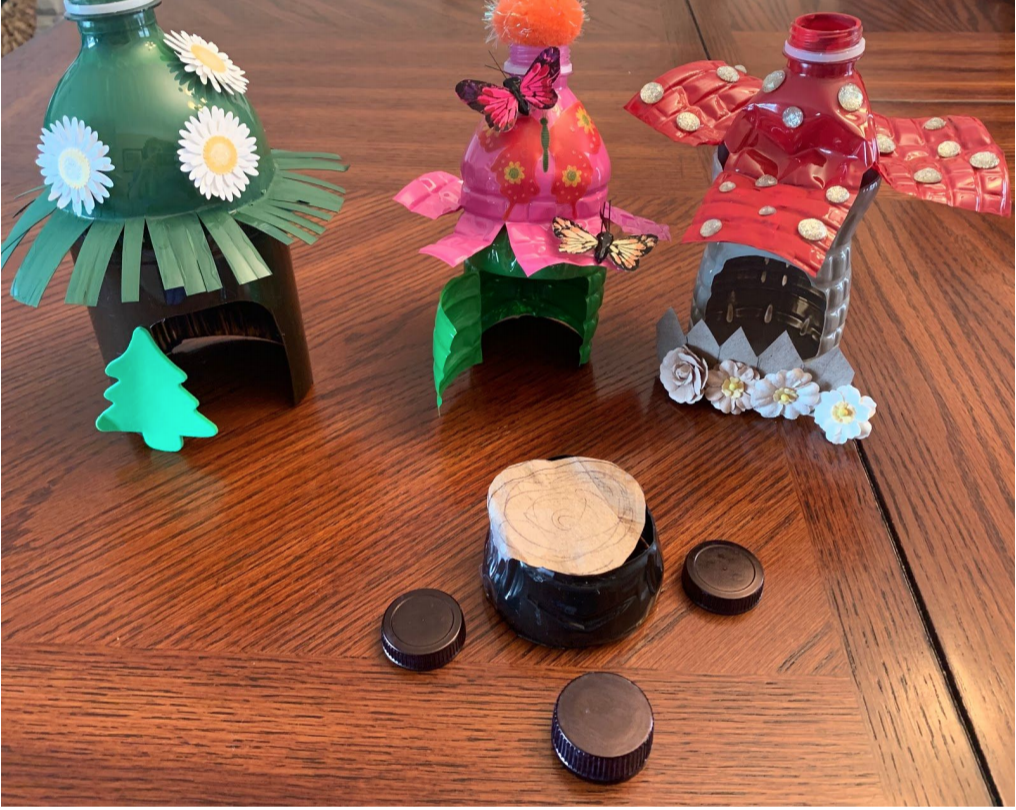
For this craft, we are turning water bottles into tiny fairy or gnome houses.
Materials Needed:
- Recycled water bottles (any plastic bottles work fine, but water bottles were the easiest to work with. You may want to save more than one if you want to do a few houses).
- Scissors
- Paints or markers
- Glue (hot glue would work best!) and/or tape
- Newspaper or something else to work on so we’re not making a mess!
- Optional: toilet paper roll, construction paper, decoration/craft materials such as stickers, felt, fake flowers, glitter, fuzz balls, etc.
Helpful tip: We used liquid school glue and tape. If it’s available to you, use a hot glue gun! But always remember to ask for permission first and help from an adult before using a hot glue gun. If you don’t have one, that’s ok! Glue and tape worked just fine!
Instructions:
- Wash, sanitize or rinse your bottles under hot water. Let them air dry.
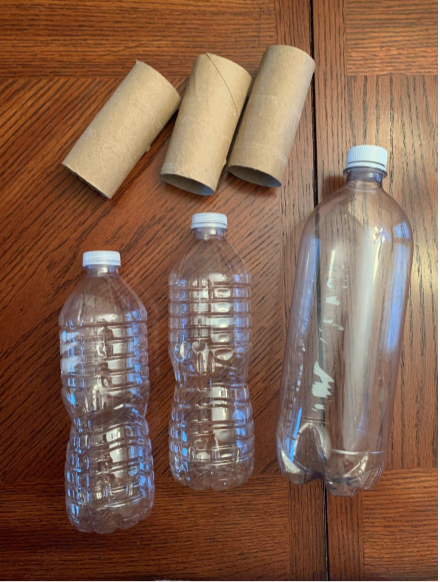
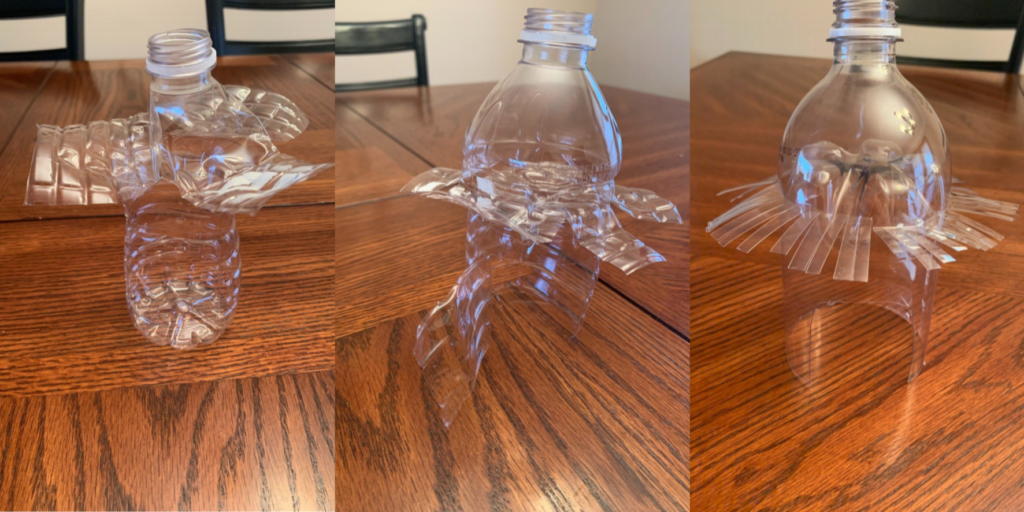
- After letting the bottles dry, set the lids off to the side and cut the tops off of the bottles. Where you cut them in half all depends on how large you want the “house” part to be compared to the “roof.”
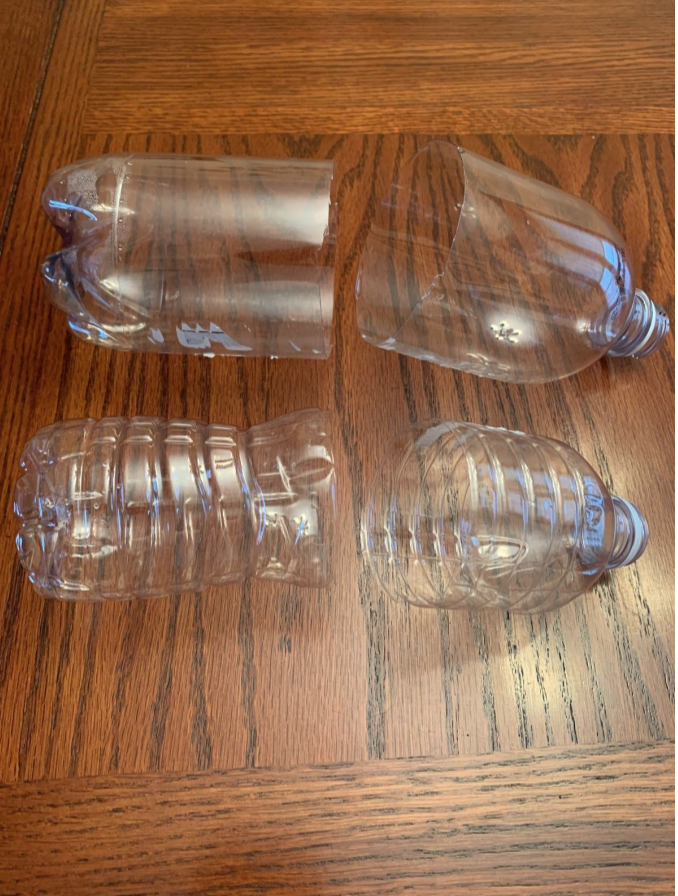
- For one of the bottles, we cut the roof really small and there was more to the bottom of the bottle for the house. Since we didn’t want this, we cut more off of the middle and saved this part to use later.
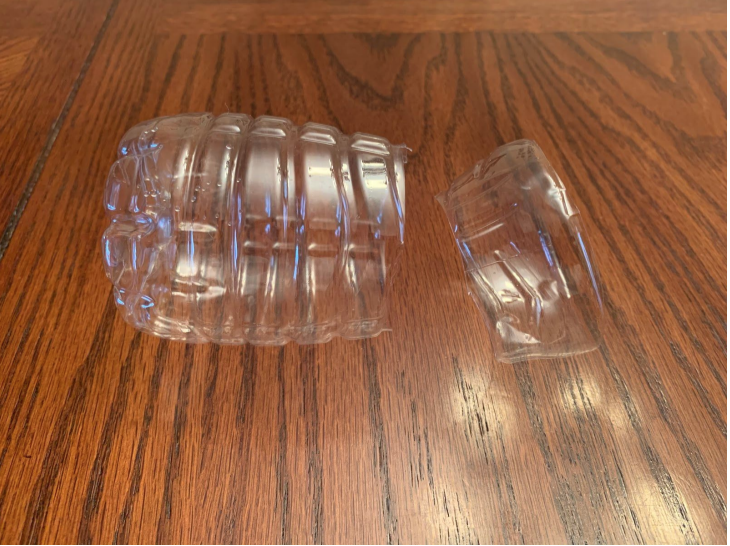
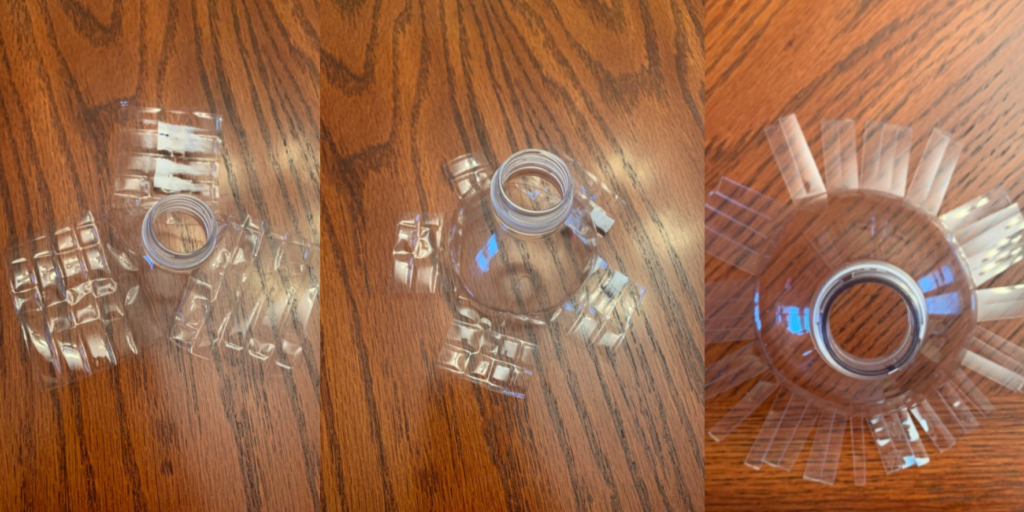
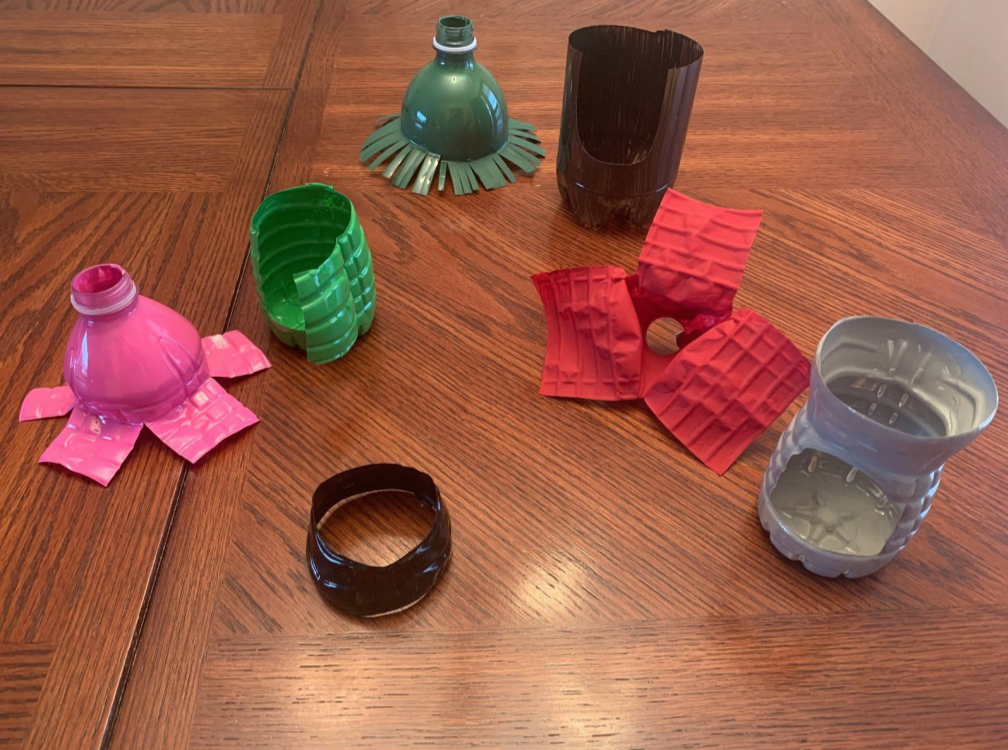
- Now that you have your bottle cut in half, you can cut the roof (top of the water bottle) in any design you’d like. For one, we cut it into 3 sections. The other was cut into a few more, to resemble a lot of flower petals. For the last one, we cut super close, long strips. After cutting the strips into the top, bend them up.
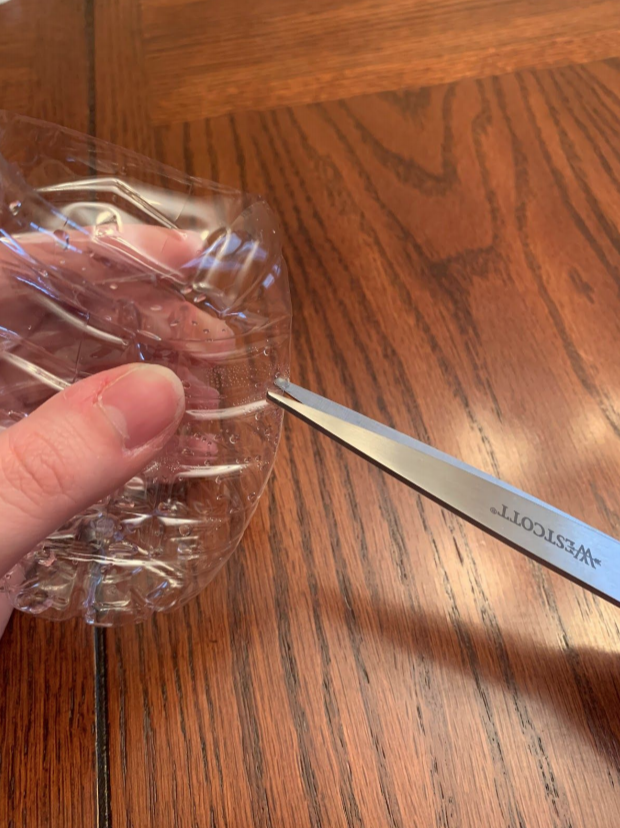
- For the bottoms of the water bottles (the “houses”), you can cut or paint doors and windows. A tip for cutting into the bottles: pinch part of the area you want to cut and carefully make a little slit, before cutting the rest open.
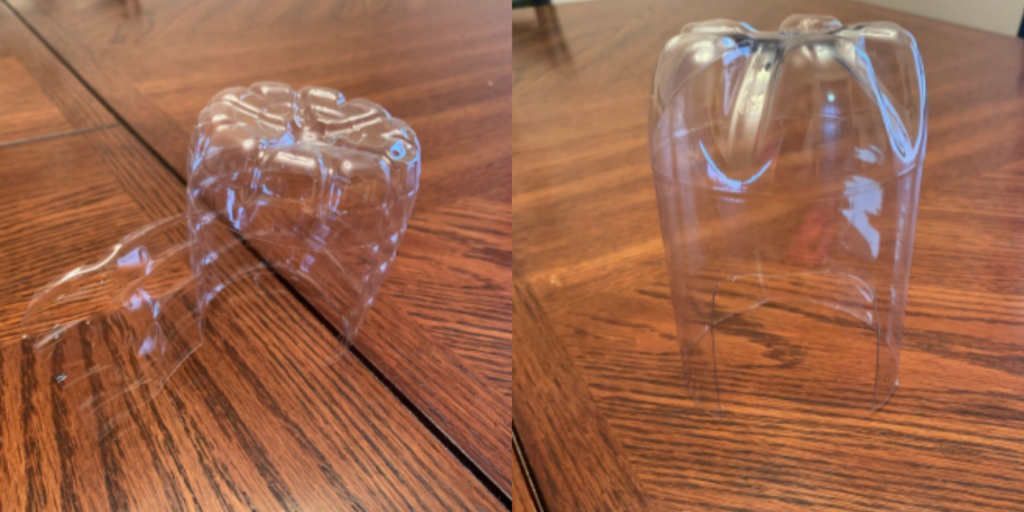
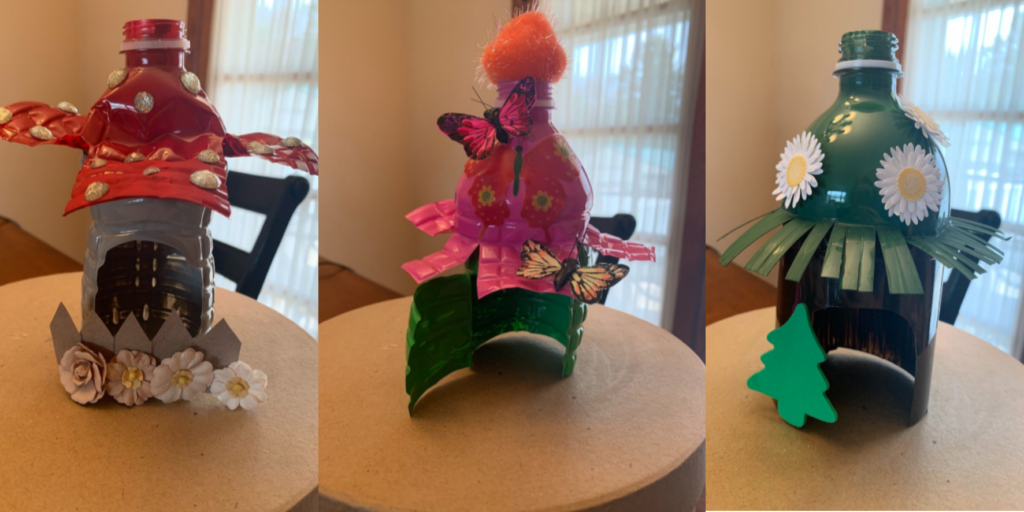
- Deciding which way to turn the bottom half of the water bottles to make the houses is based on your preference. For one of them, we attached the top of the water bottle to the bottom, as if we hadn’t cut it. For the last two, we turned the bottom of the water bottle upside down to set the roof part on the bottom.
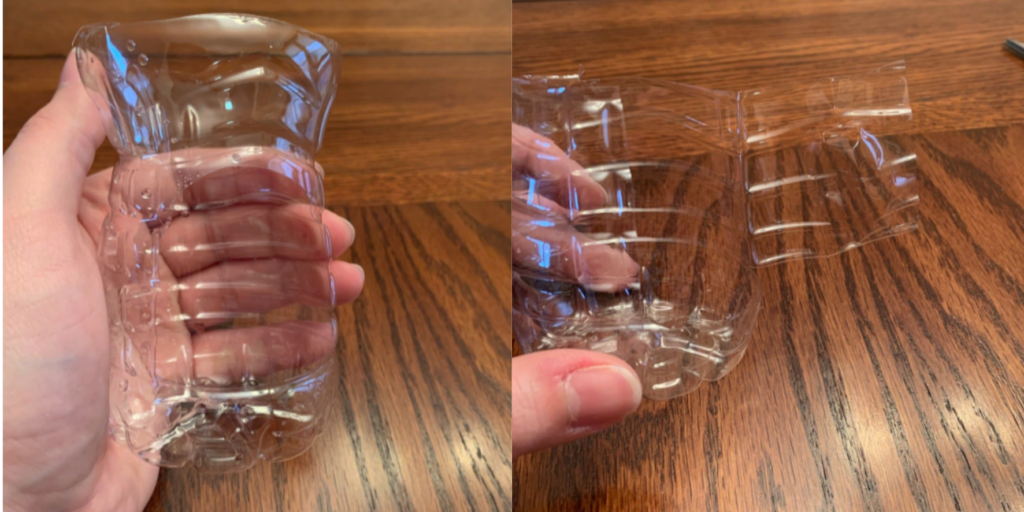
- For the doors: for two of the bottle houses, we cut a door hole out completely. For the one, we left one side to the door so it stayed attached and open on the bottle.
- Once you have your roof and house cut, start painting them!
9. Let the paint dry. After your fairy/gnome houses have had time to dry, you can either go on to decorate them more or leave them just painted! It is entirely up to you!
10. It’s time to connect the roof! We finished decorating as much as we could before we attached the roofs to the houses; we found this to be the easiest. Then we went back in and added any smaller details.
11. For the extras (optional) – If you saved the lids to the water bottles or cut extra plastic off as we did, you can paint/decorate these and add them to your fairy house designs. For the lids, we colored them with a marker to make little chairs. With the extra water bottle plastic, we painted it and then glued part of the toilet paper roll to the top to make a tiny table. With the extra toilet paper roll, we cut it to make a little fence.
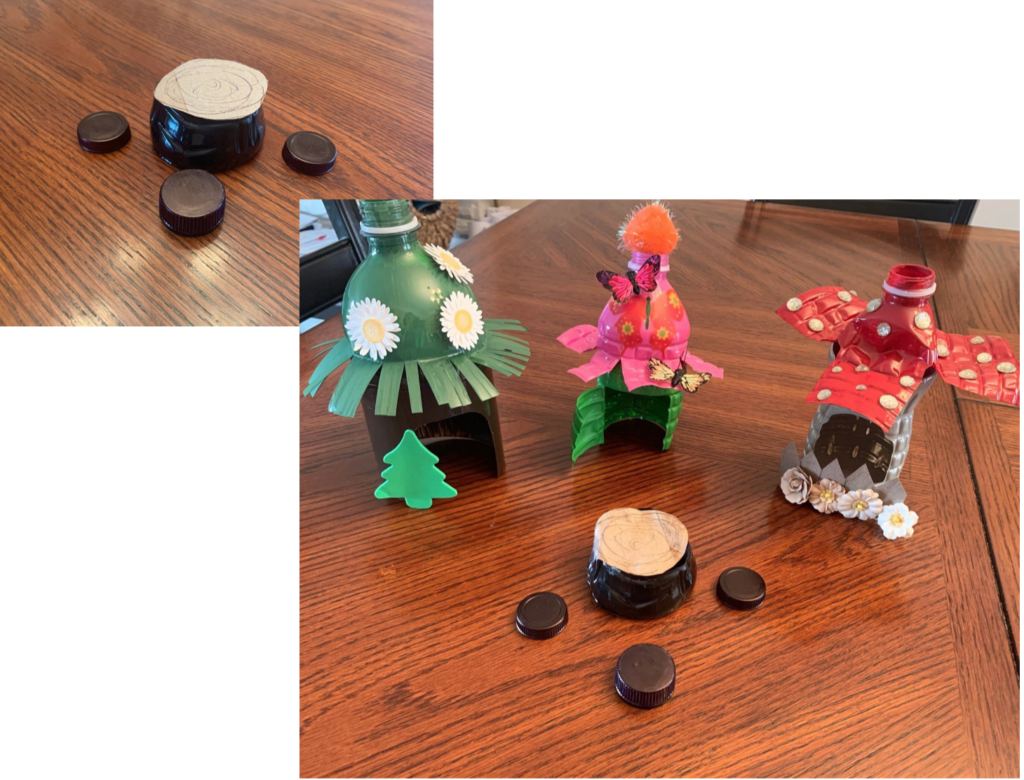
Now you have finished your Fairy/Gnome houses and they are ready to be placed in your garden! Don’t forget to let them know they are all invited to stay in their new homes!
Don’t forget to share photos of your houses with us on social media using #forcvnp or by tagging us!
You can also email your creations to us at connect@forcvnp.org for a chance to have them featured on our website and social media channels!
Click here for more spring time activities you can do at home.
The Conservancy is a nonprofit friends group for Cuyahoga Valley National Park. Our goals are to improve visitor experiences, and provide meaningful, life-enhancing programs to our communities. If you would like to join us in protecting the Cuyahoga Valley National Park, please consider supporting your park today.


